Follow the steps below to update an allowed SANs list.
To update an allowed SANs list
Open the following URL in a Web browser.
https://<hostname>/v2/Where
<hostname>is the IP address or domain name selected in General.- Log in to the Certificate Authority user interface as a user with the Owners or CA Administrators roles on a partition.
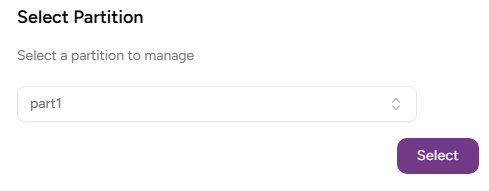
- Select the partition on which to manage certificate authorities and certificates.
Click Certificate Authorities in the sidebar and select the Allowed SANs tab.
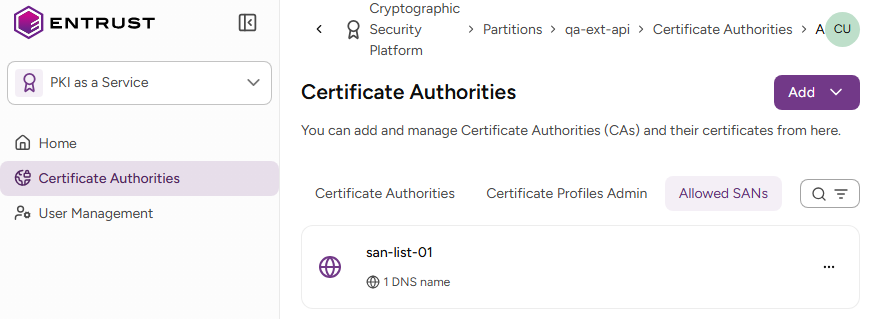
- Select Add > Allowed SANs list.
- Select the three dots (…) to the right of a list and select Modify Allowed SANs Lists.
- Update the following list settings.
- Click Modify.
Hostnames
The list of allowed DNS hostnames. For each hostname, select the corresponding scope.
- See below for an example of Domains or subdomains scope. DNS name
example.com, *.example.comMatched domainsexample.comwww.example.comapi.example.comsub.api.example.com - See below for an example of a Subdomains only scope.DNS name
*.example.comMatched domainswww.example.comapi.example.comsub.api.example.com - See below for an example of Exact match scope.DNS name
example.comMatched domainexample.com
Networks
The allowed IPv4 and IPv6 network ranges, in CIDR (Classless Inter-Domain Routing) notation.
<IP_address>/<prefix_length>See below for sample values.
IPs from 192.168.1.0 to 192.168.1.255
192.168.1.0/24Single IP address
10.0.0.5/32IPv6 network
2001:db8::/32